1. Get the WSDL and XSD files of the webservice you need to implement.
Eg. For my webservice, I needed:
parlayx_terminal_location_notification_service_2_2.wsdl
parlayx_terminal_location_notification_interface_2_2.wsdl
parlayx_terminal_location_types_2_2.xsd
parlayx_common_types_2_1.xsd
2. Use WSIMPORT to generate the code stubs
Eg. command I used:
F:\EclipseWorkspaces\MANDPLBS\MAWS_Stubs>F:\Apache\jaxws-ri\bin\wsimport parlayx_terminal_location_notification_service_2_2.wsdl -keep -s src -d build\classes
I generated the source files in src and clases in build\classes so that I can use this directory as a project directory in Eclipse workspace
When you run it, you will see:
parsing WSDL...
generating code...
compiling code...
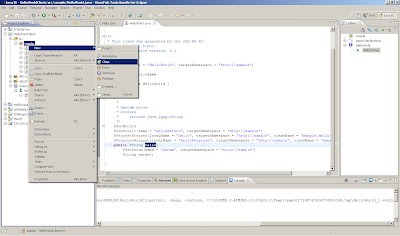
3. Amend the source files to implement your logic.
- Most of wsdl will generate an interface class
- You might want to implement that interface using a different class
- Eg. My interface class: TerminalLocationNotification
My implementation class TerminalLocationNotificationImpl
- If you change the package name, you will need to change the classname annotations
4. You can rename the classes but each object must be defined in ObjectFactory
Note: When I didn't comment out the classname wsgen (next step) created another package with jaxws
5. Generate the WSDL and artifacts using the following command:
>D:\Apache\jaxws-ri\bin\wsgen -cp ../build/classes -r ../WebContent/wsdl -s . -d ../build/classes -keep com..lbs.server.TerminalLocationNotificationImpl -wsdl
-r to generate WSDL to the right dir
-s to generate the source files to the right dir
-d to generate the class files to the right dir
6. Export as war and deploy on app server.
Showing posts with label Webservices. Show all posts
Showing posts with label Webservices. Show all posts
Tuesday, May 26, 2009
Tuesday, May 19, 2009
Creating HelloWorldClient using WTP
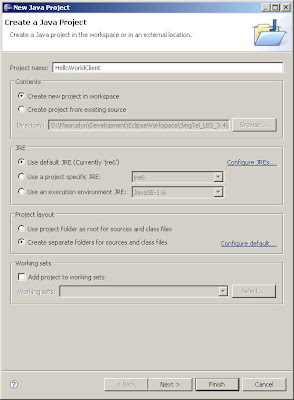
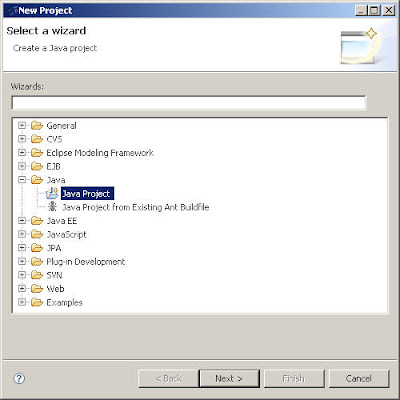
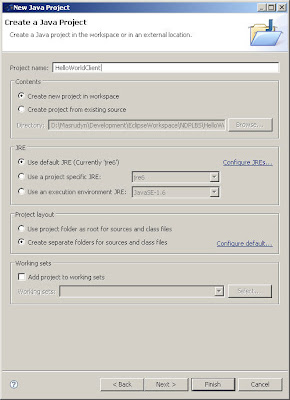
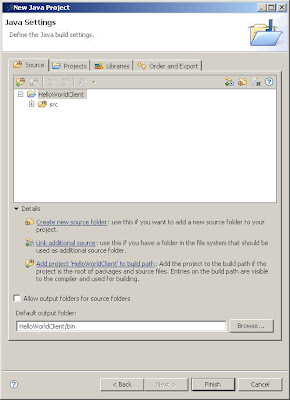
1. Create a new project for the HelloWorld client (an ordinary Java project is sufficient)
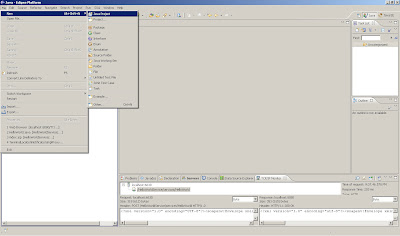
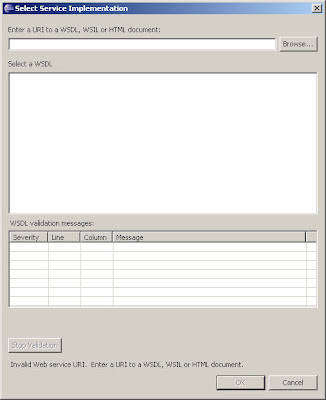
2. Create a Web Service Client

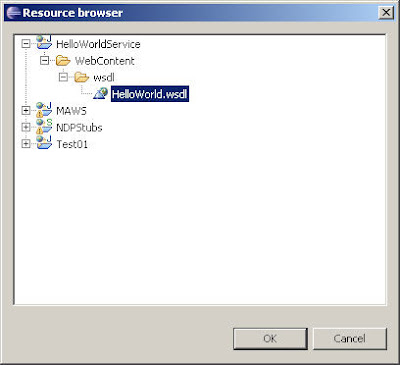
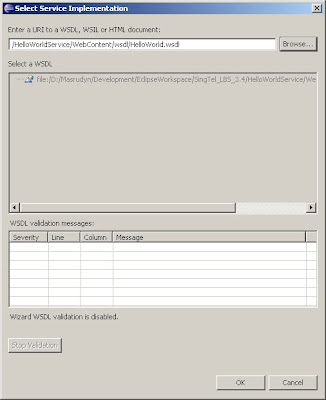
3. Click on browse and choose the WSDL location
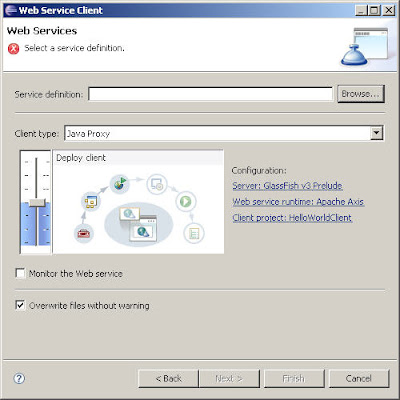
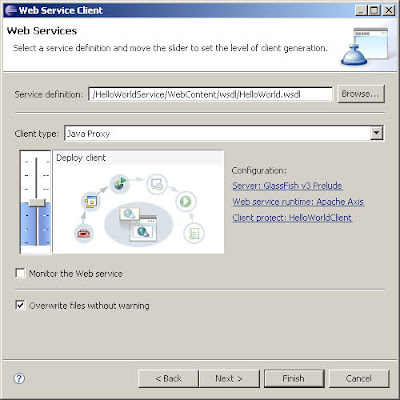
4. Increase the settings to "Test Client"
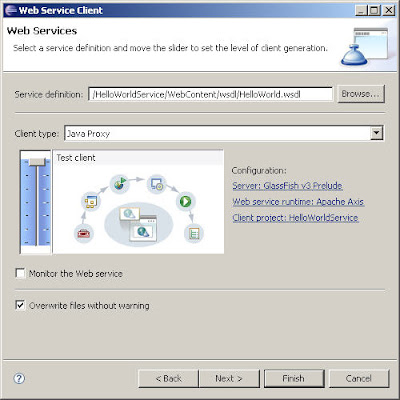
5. Choose Default settings and Click Next
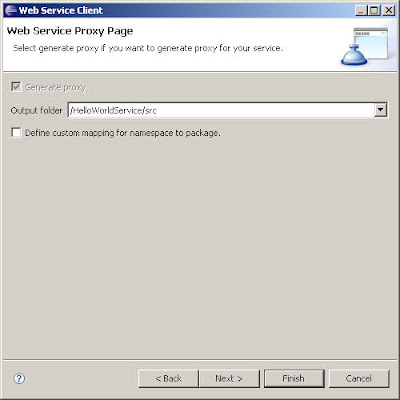
6. Choose Default settings and Click Finish
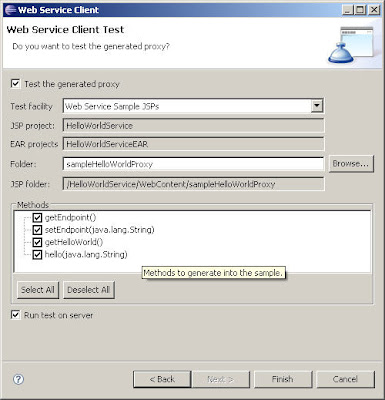
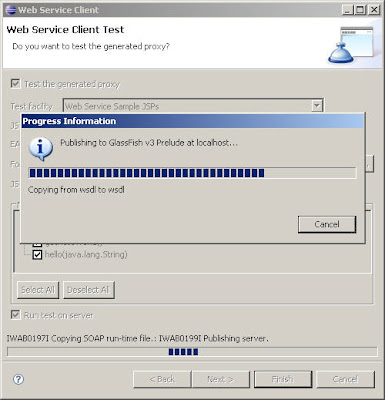
7. Eclipse will publish a test client to Glassfish
8. A test page will appear

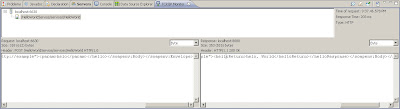
9. Check TCP/IP Monitor window to see if the SOAP calls are ok


2. Create a Web Service Client


3. Click on browse and choose the WSDL location


4. Increase the settings to "Test Client"

5. Choose Default settings and Click Next

6. Choose Default settings and Click Finish

7. Eclipse will publish a test client to Glassfish

8. A test page will appear

9. Check TCP/IP Monitor window to see if the SOAP calls are ok

Tuesday, May 12, 2009
Creating HelloWorldClient using SOAP UI Plugin
1. Create a new project for the HelloWorld client (an ordinary Java project is sufficient)

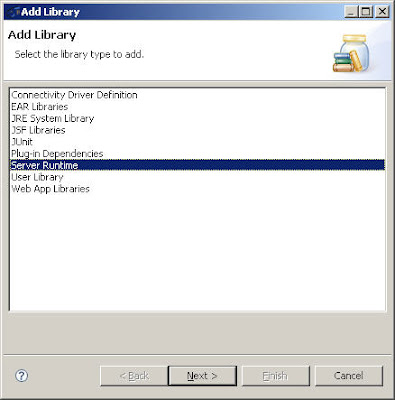
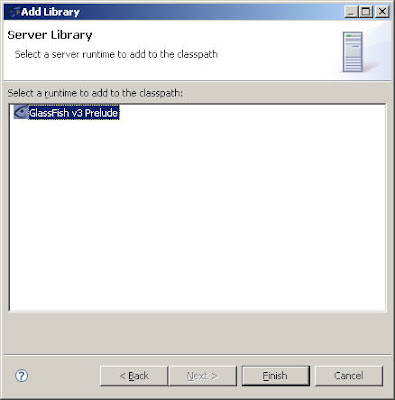
2. Next, we add Glassfish v2 as Server Runtime in Build Path.
3. Right click->BuildPath->Add Library->ServerRuntime->Glassfish v2
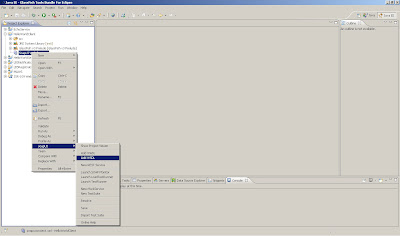
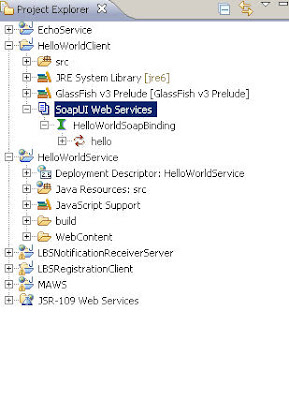
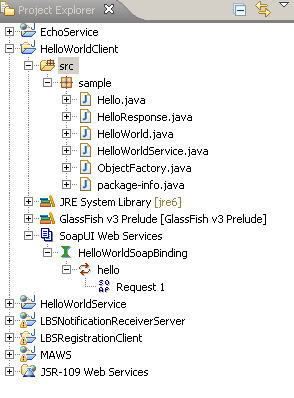
4. Select the project and Right Click->Soap UI->Add SOAPUI Nature, SOAP UI WebService item will be added in Project Explorer
(Goto Package Explorer if you don't see the Soap UI menu item)
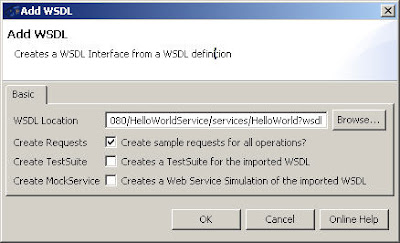
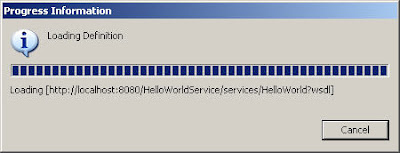
5. Right Click on SOAP UI and add the WSDL location
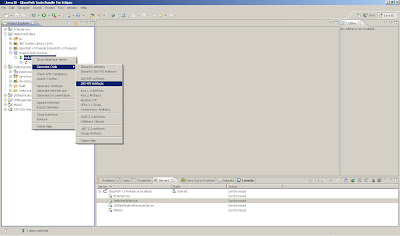
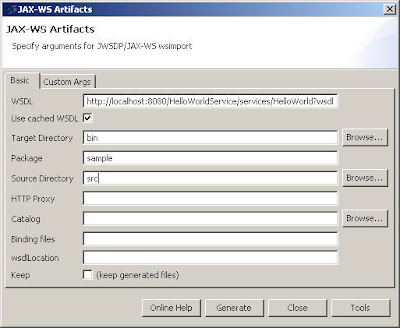
6. Select HelloWorldSoapBinding and Right Click->GenerateCode->JAX-WS Artifacts
Enter the appropriate info in the JAX-WS Artifacts window (note you might need to enter full paths if the files are not generated)
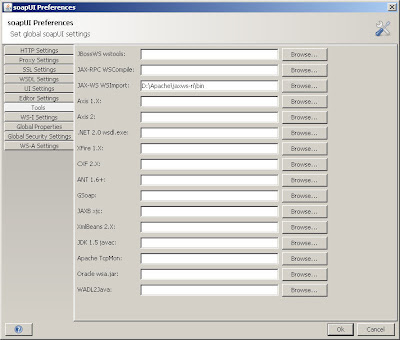
7. Click Tools and enter the location of JAX-WS Wsimport, for example c:\glassfish\bin and Click OK
8. Ensure (keep generated class) is checked, then click Generate on JAX-WS Artifacts window, it will display a dialog box that the operation was successful. Switch back to Java Perspective, then refresh the src folder and you can see the wsimport generated classes
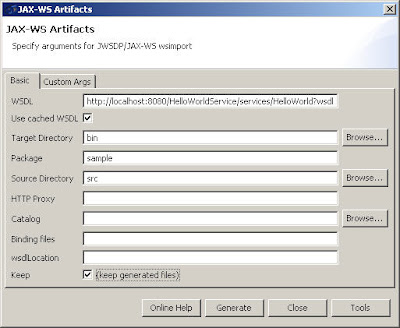

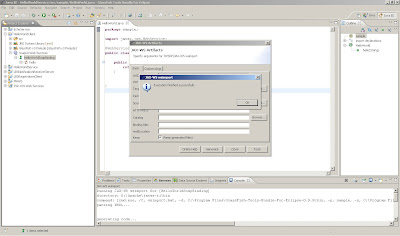
9. Click Generate on JAX-WS Artifacts window, it will display a dialog box that the operation was successful. Switch back to Java Perspective, then refresh the src folder and you can see the wsimport generated classes
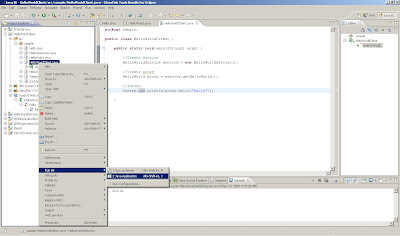
10. Implement your client code by adding a new class HelloWorldClient
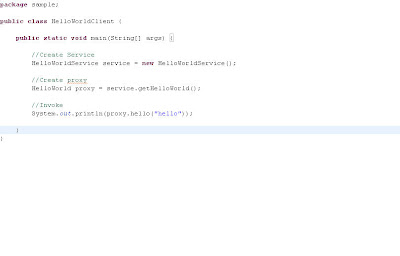
Code:
package sample;
public class HelloWorldClient {
public static void main(String[] args) {
//Create Service
HelloWorldService service = new HelloWorldService();
//Create proxy
HelloWorld proxy = service.getHelloWorld();
//Invoke
System.out.println(proxy.hello("hello"));
}
}
11. Execute the client by selecting the HelloWorldClient in the package explorer of Eclipse and selecting Run>Java Application. In the console window of Eclipse, you should see "Hello World".

That's it! :-)


2. Next, we add Glassfish v2 as Server Runtime in Build Path.
3. Right click->BuildPath->Add Library->ServerRuntime->Glassfish v2


4. Select the project and Right Click->Soap UI->Add SOAPUI Nature, SOAP UI WebService item will be added in Project Explorer
(Goto Package Explorer if you don't see the Soap UI menu item)
5. Right Click on SOAP UI and add the WSDL location


6. Select HelloWorldSoapBinding and Right Click->GenerateCode->JAX-WS Artifacts
Enter the appropriate info in the JAX-WS Artifacts window (note you might need to enter full paths if the files are not generated)


7. Click Tools and enter the location of JAX-WS Wsimport, for example c:\glassfish\bin and Click OK

8. Ensure (keep generated class) is checked, then click Generate on JAX-WS Artifacts window, it will display a dialog box that the operation was successful. Switch back to Java Perspective, then refresh the src folder and you can see the wsimport generated classes


9. Click Generate on JAX-WS Artifacts window, it will display a dialog box that the operation was successful. Switch back to Java Perspective, then refresh the src folder and you can see the wsimport generated classes

10. Implement your client code by adding a new class HelloWorldClient


Code:
package sample;
public class HelloWorldClient {
public static void main(String[] args) {
//Create Service
HelloWorldService service = new HelloWorldService();
//Create proxy
HelloWorld proxy = service.getHelloWorld();
//Invoke
System.out.println(proxy.hello("hello"));
}
}
11. Execute the client by selecting the HelloWorldClient in the package explorer of Eclipse and selecting Run>Java Application. In the console window of Eclipse, you should see "Hello World".


That's it! :-)
Installing SOAP UI Plugin on Eclipse
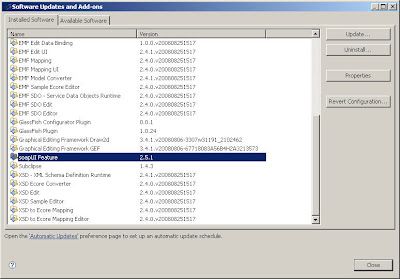
1. Inside Eclipse, install SOAP UI Plugin
2. Select "Help"/"Software Updates"/"Find and Install..."
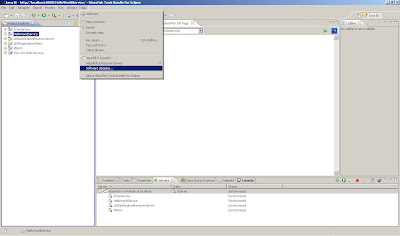
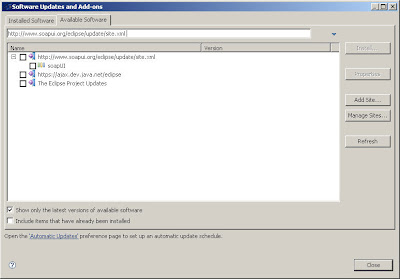
3. Press the "New Remote Site" button and add http://www.soapui.org/eclipse/update/site.xml as the plugin URL
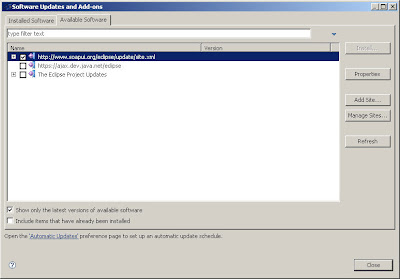
4. Select Finish and the follow the dialogs to install the soapUI feature. If installed successfully, you should see it in the installed tab.

Creating a simple HelloWorld JAX-WS Webservice using Eclipse
I'm using Glassfish Tools Bundle for Eclipse in this example. You can download it from here
1. Create a new Dynamic Web Project and give it a name eg. HelloWorldService
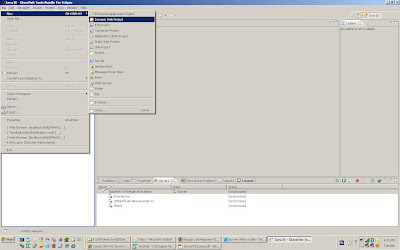
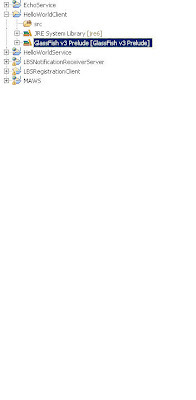
2. Ensure Target Runtime is Glassfish V3 Prelude

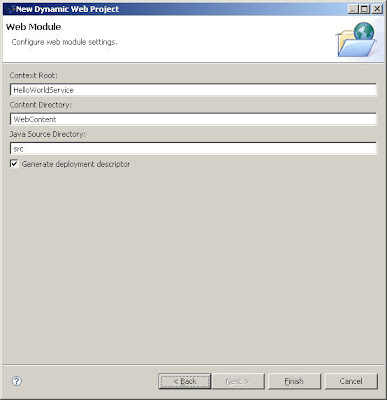
3. Choose the default settings for the Web Module Page
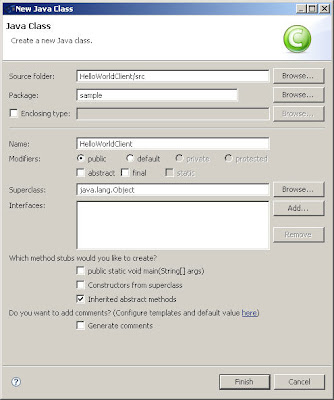
4. Select your new project and create a new class
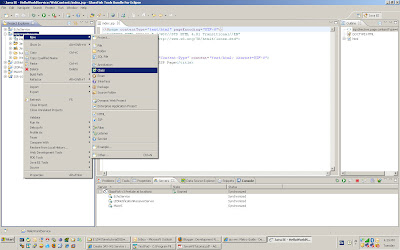
5. Name it HelloWorld. Name the package sample and click on Finish button

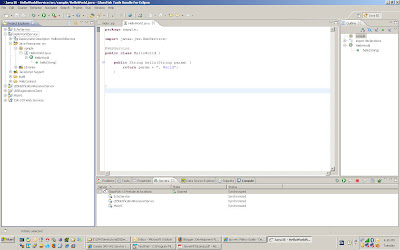
6. Enter the code below
package sample;
import javax.jws.WebService;
@WebService
public class HelloWorld {
public String hello(String param) {
return param + ", World";
}
}
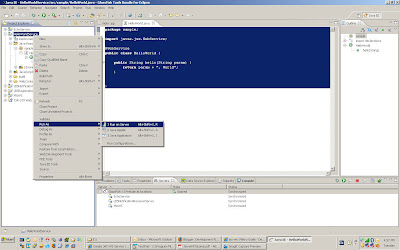
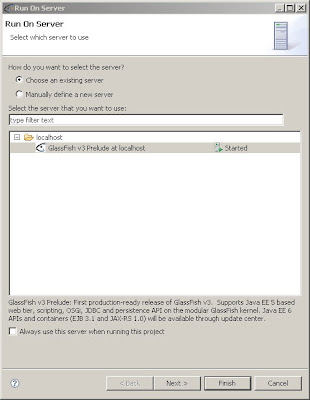
7. Deploy the service by selecting the project and select Run as>Run on server.
8. Choose default settings when the Run on server window appears
9. You will see the default jsp page displayed.

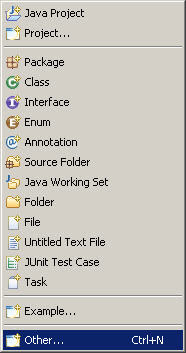
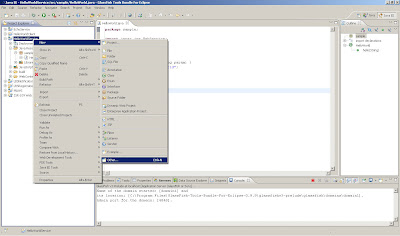
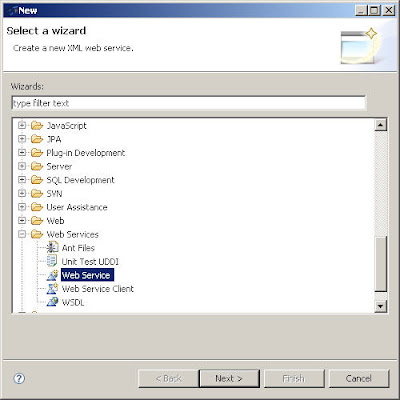
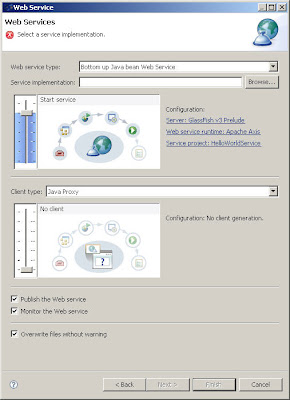
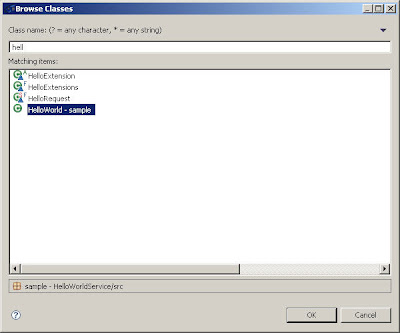
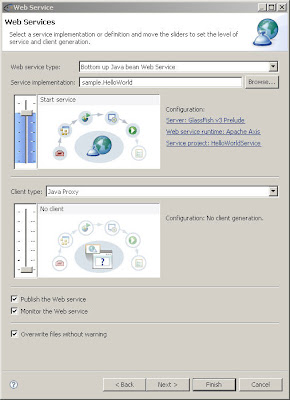
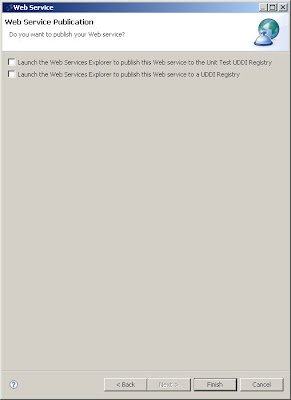
10. Right click on your project. Select New->Web Service (you'll probably need to choose "other" and find it in the full list). Go through the configuration stages. Eclipse will produce all the required stuff.
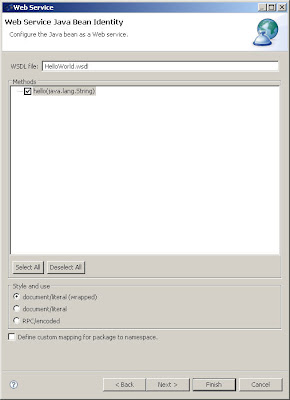
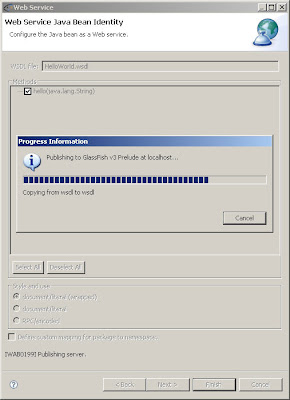
11. Start the server (if it hasn't started). If, for example, the app server port is 8080, the project URL you chose is HelloWorldService, and the class name is HelloWorld?, open a web browser and go to http://localhost:8080/HelloWorldService/services/HelloWorld?wsdll, and you should see the WSDL description.
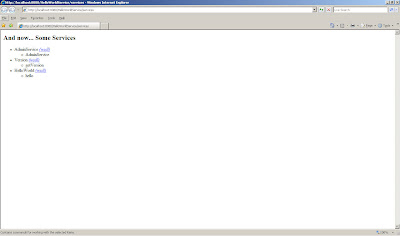

And we are done! :-)
1. Create a new Dynamic Web Project and give it a name eg. HelloWorldService

2. Ensure Target Runtime is Glassfish V3 Prelude

3. Choose the default settings for the Web Module Page

4. Select your new project and create a new class

5. Name it HelloWorld. Name the package sample and click on Finish button

6. Enter the code below
package sample;
import javax.jws.WebService;
@WebService
public class HelloWorld {
public String hello(String param) {
return param + ", World";
}
}

7. Deploy the service by selecting the project and select Run as>Run on server.

8. Choose default settings when the Run on server window appears

9. You will see the default jsp page displayed.

10. Right click on your project. Select New->Web Service (you'll probably need to choose "other" and find it in the full list). Go through the configuration stages. Eclipse will produce all the required stuff.


11. Start the server (if it hasn't started). If, for example, the app server port is 8080, the project URL you chose is HelloWorldService, and the class name is HelloWorld?, open a web browser and go to http://localhost:8080/HelloWorldService/services/HelloWorld?wsdll, and you should see the WSDL description.


And we are done! :-)
Subscribe to:
Posts (Atom)