Thursday, November 25, 2010

Deploy Axis2 on AIX

On WebLogic running on AIX, you will need to package the webservice into a .aar file before Axis2 can recognize the web service. On other operating systems like Windows, packaging the war file without the .aar file works fine!

Here's how you do it:
1. In Eclipse, navigate to the services directory via:
Project Name>WebContent>WEB-INF>services>


2. Right click on the service and click on Export


3. Choose General>Archive File and click on Next


4. Uncheck the service directory but ensure that all the subdirectories are checked. Make sure the file has the extension .aar and choose Finish.


5. Choose the overwrite the file if asked:


6. Next, export the service as a war for deployment. Right click on the project and choose Export


7. Choose war file to export


8. Specify the destination folder and click on Finish


9. Once the export to war is complete, deploy it on your App Server.

Friday, September 17, 2010

Developing a webservice with Axis2 in Eclipse

1. Configure Axis2 in Eclipse (you need to download and unzip to a directory):


2. Ensure you select "Generate an interface for the skeleton".


3. Configure a server runtime to deploy the web service:

ensure you check "create a new local server"


3. Create a new "Dynamic Web Project"


Under Configuration click "Modify" and ensure that Axis2 Web Service is selected.


4. Create a new class eg. PartyId and add in the methods

5. Create a WebService


Ensure you choose Axis2 Runtime


6. Run on the server


An error appears: change the url to : http://localhost:8080/PartyIdService/axis2-web/index.jsp


7. If error:

Edit the web.xml from the WEB-INF directory:


Change org.apache.axis2.transport.http.AxisServlet to
org.apache.axis2.webapp.AxisAdminServlet
(ensuring you are changing for Apache-Axis Admin Servlet Web Admin)


If asked for password, user : admin password : axis2


8. If successful, you should the following screens:

Axis2 Links

I've found several very simple and good links on Axis2:

1. Very simple bottom up tutorial.

2. A whole bunch of articles and links

3. Using complex objects

4. Axis2 and Tomcat

5. Exposing a Database as a Web Service

Saturday, September 11, 2010

Configuring Glassfish with log4j

Here's how you do it:

1. Place log4j.jar and log4j.properties file somewhere :
I put mine:
M:/Development/Java/glassfish/lib/log4j-1.2.15.jar
M:/Development/Java/glassfish/domains/domain1/lib/logging
2. Add the fully qualified path to the log4j.jar into the classpath of Glassfish together with the directory that contains the log4j.properties file. You can do that in the web UI: Application Server/JVM Settings/Paths/System Classpath and the entries are separated by a return.

3. Restart the server - if you are in asadmin, you need to exit and enter again.
Or else just do asadmin stop-domain and then asadmin start-domain

Wednesday, August 18, 2010

All about SSL and WebLogic

Here are good links on configuring SSL in WebLogic:

http://wls4mscratch.wordpress.com/category/security/
http://download.oracle.com/docs/cd/E14571_01/web.1111/b32511/setup_config.htm

Saturday, August 14, 2010

More on WebService Development using JAX-WS

For new project, I have to build an SOA layer in front of an engine that serves offers. The SOA layer will communicate via webservice as well.

Here's how I did it:

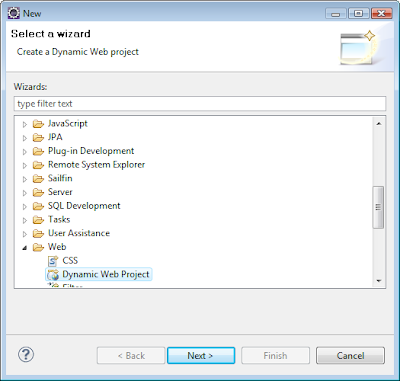
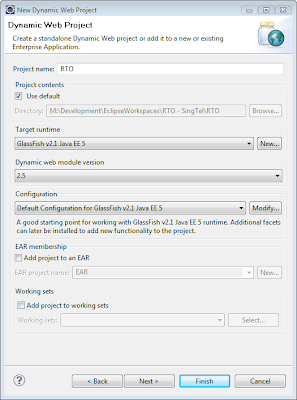
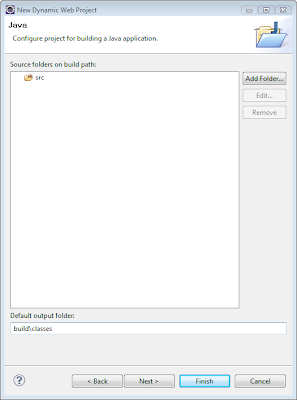
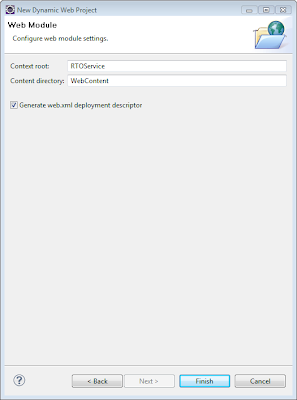
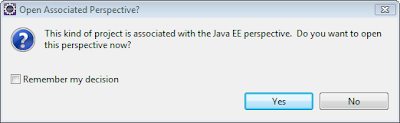
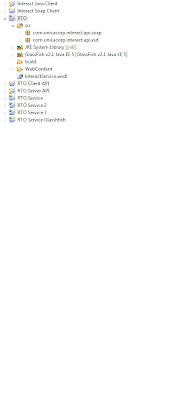
1. In eclipse, create a Dynamic Webcontent Project as a placeholder for the code stubs I am going to generate from my WSDL:


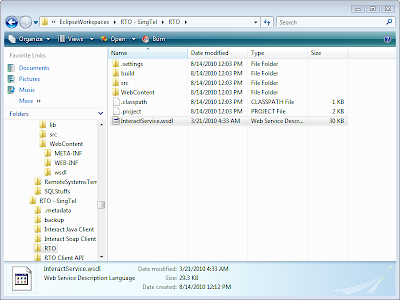
2. Get the WSDL and XSD files of the webservice you need to implement to the root project folder:
InteractService.wsdl


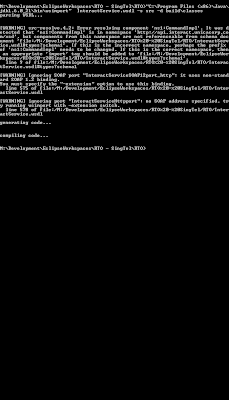
3. Use WSIMPORT to generate the code stubs. Eg. command I used:
"C:\Program Files (x86)\Java\jdk1.6.0_21\bin\wsimport" InteractService.wsdl -s src -d build\classes


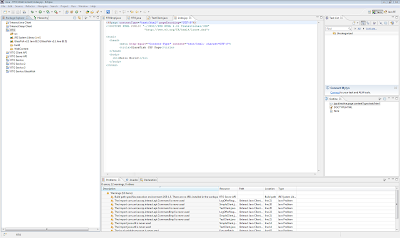
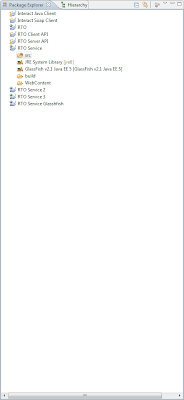
4. Go back to Eclipse and refresh the project and you can see the source files generated:


5. In eclipse, create new a Dynamic Webcontent Project for my SOA layer:


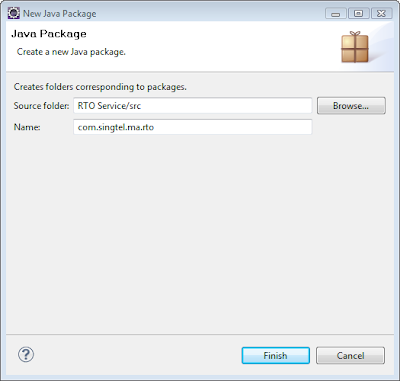
6. Create and empty package for it:


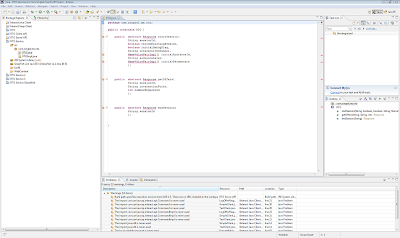
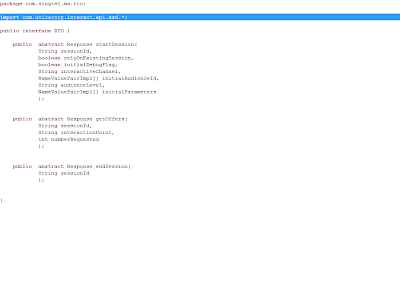
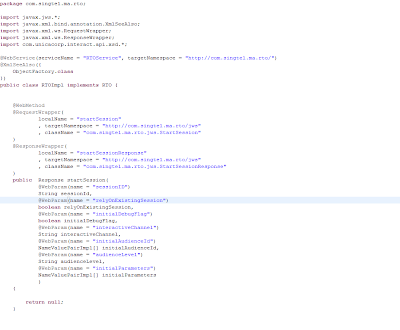
7. Create my interface and implementation classes for the SOA:


8. Copy the required classes especially those that passes the objects as request and response:


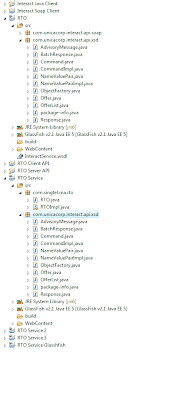
9. Import the right package:


10. Ensure all the annotations are correct:


11. Build the project and ensure the classes are generated:


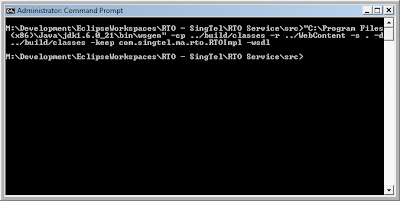
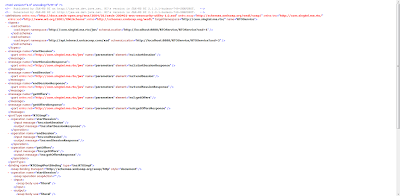
12. Generate the WSDL and artifacts using the following command:
"C:\Program Files (x86)\Java\jdk1.6.0_21\bin\wsgen" -cp ../build/classes -r ../WebContent -s . -d ../build/classes -keep com.singtel.ma.rto.RTOImpl -wsdl


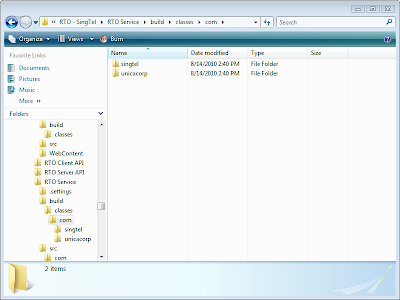
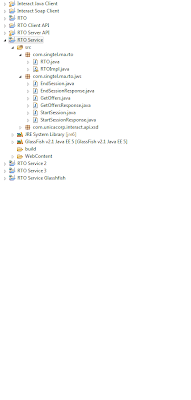
13. Check that the classes are generated:


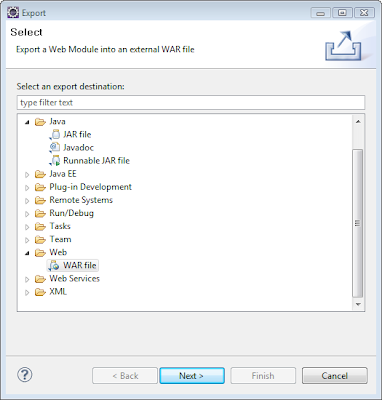
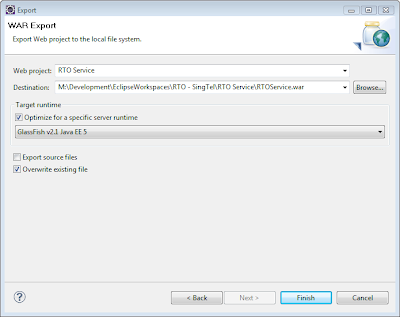
14. Create the war file for deployment:


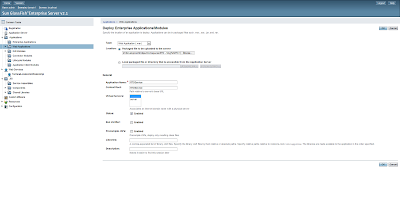
15. Deploy on Glassfish:


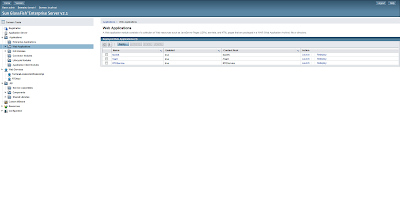
16. Check that the Webservice is registered:


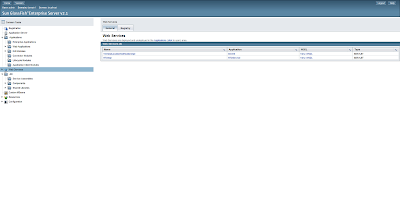
17. And the WSDL can be seen:


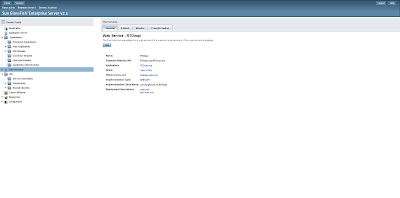
18. And there is a test inteface: